TechnologyDifferential inspection
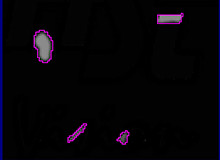
We provide tools to detect defects by differential inspection. By comparing the target image with the reference image, it is possible to extract only the part which differs from the reference image.

reference image

target image

detected differentials (purple)
Integration with high precision alignment tool
In order to perform high-precision differential inspection, it is necessary to search for an area in which the same object as the reference image appears from the target image. This is called alignment. If the alignment accuracy is poor, the shifted area will be detected as a difference, so the result of the difference inspection will also be incorrect. We are offering X-Match ® tool which performs geometric shape search which can perform accurate alignment at the subpixel level. Alignment with this tool enables more accurate differential inspection.
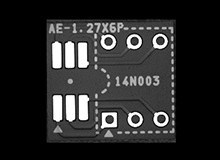
reference image
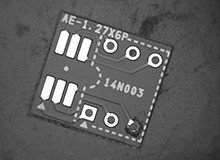
target image
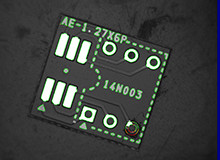
aligned image by X-Match®
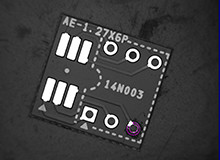
detected differentials (purple)
Automatic brightness correction
In the normal case, there is always a difference in brightness between the reference image and the target image due to the lighting environment, aperture, exposure time. The automatic brightness correction automatically provides a more accurate comparison by aligning the brightness of the target image and the reference image.
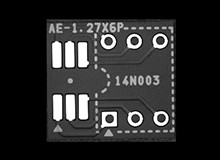
reference image
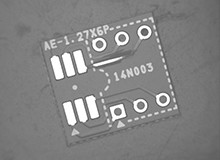
target image
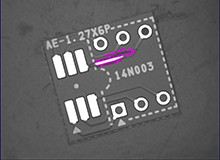
detected differentials (purple)
Automatic correction of individual shape variation
In inspection of products, there are variations in individual shapes, and lighting conditions are not constant. Therefore, large variations occur especially in the contour area. When performing a difference inspection, it is false detection to detect this variation as a difference. In our differential inspection tool, it is possible to make correction by predicting the contour area which is likely to be erroneously detected.

reference image
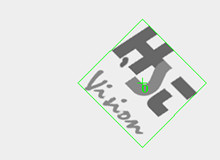
target image
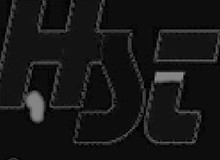
detected differentials without correction feature
